The setup wizard
The setup wizard asks what you have, tests each account as you type it, and
writes all your settings into one file, ferrule.env. You load that file
into the stack and redeploy. That's the whole setup.
It opens by itself at http://<your docker host>:8090 on a stack with
nothing configured (Install). Allow about ten minutes, and
have your read-only accounts ready (Before you begin).
Nothing is saved until you download
The wizard keeps your answers in the page. A password is sent to Ferrule only to test it, once, and is never stored or logged. If you close the tab, you start again.
1. What do you want to watch
Tick your UniFi console, say where Protect runs, and count your servers and storage. This decides which pages come next.
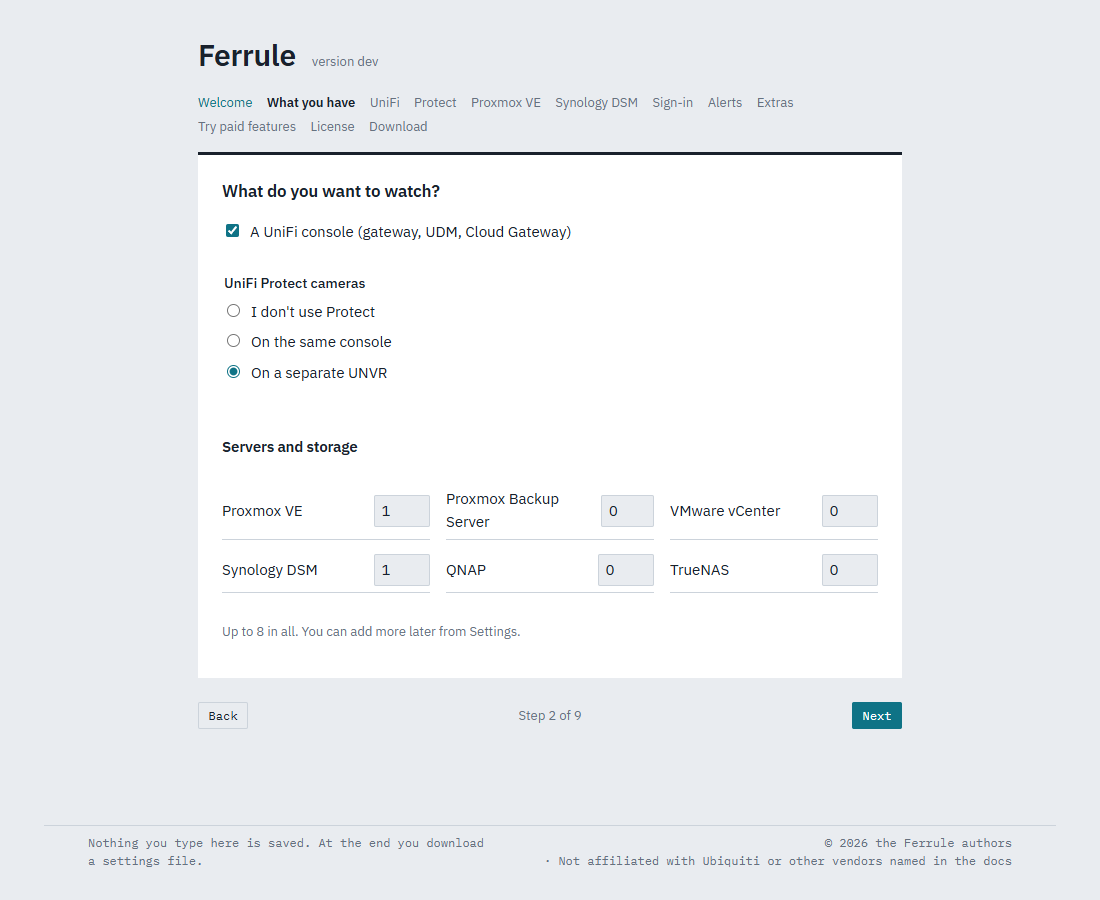
- Protect on the same console means one box runs both Network and Protect, such as a UDM Pro or a Cloud Gateway.
- On a separate UNVR adds a page for the UNVR. It needs its own API key and its own local admin: the gateway's don't work on it.
2. Your UniFi console
Fill in the console's address, its API key, and the local read-only admin, then click Test.
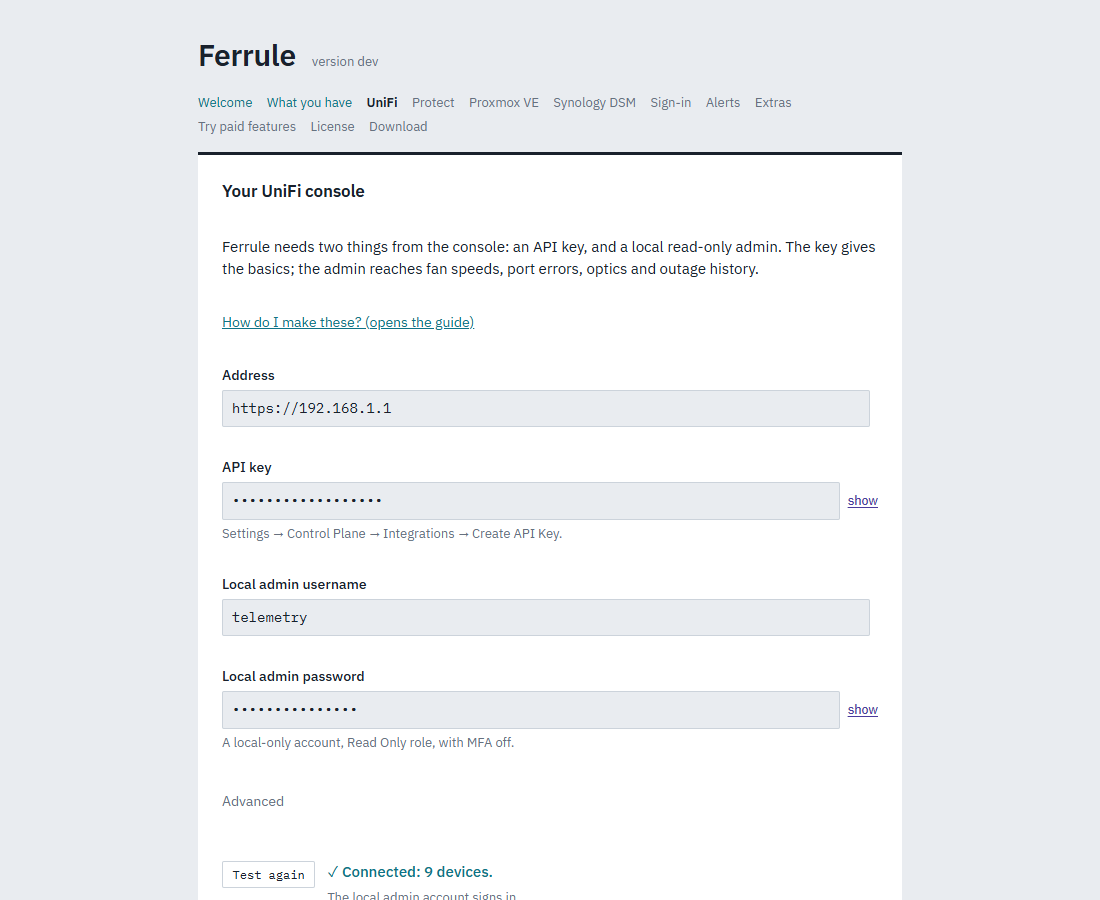
A pass looks like ✓ Connected: 9 devices. with The local admin account signs in. underneath. If it fails, the message says why. The usual causes:
- "The console refused the login": the account is a UniFi cloud (ui.com) account, or it has MFA on. Ferrule needs a local account with MFA off (UniFi Network).
- "Nothing answered at that address": check the address and that the Docker host can reach it.
If Protect is on a UNVR, its page works the same way, with the UNVR's own key and admin. A pass there also says disk health and recorder temperatures can be read.
3. Servers and storage
Each system you counted gets a page: a name you'll recognise, its address, the account or token, and a Test button.
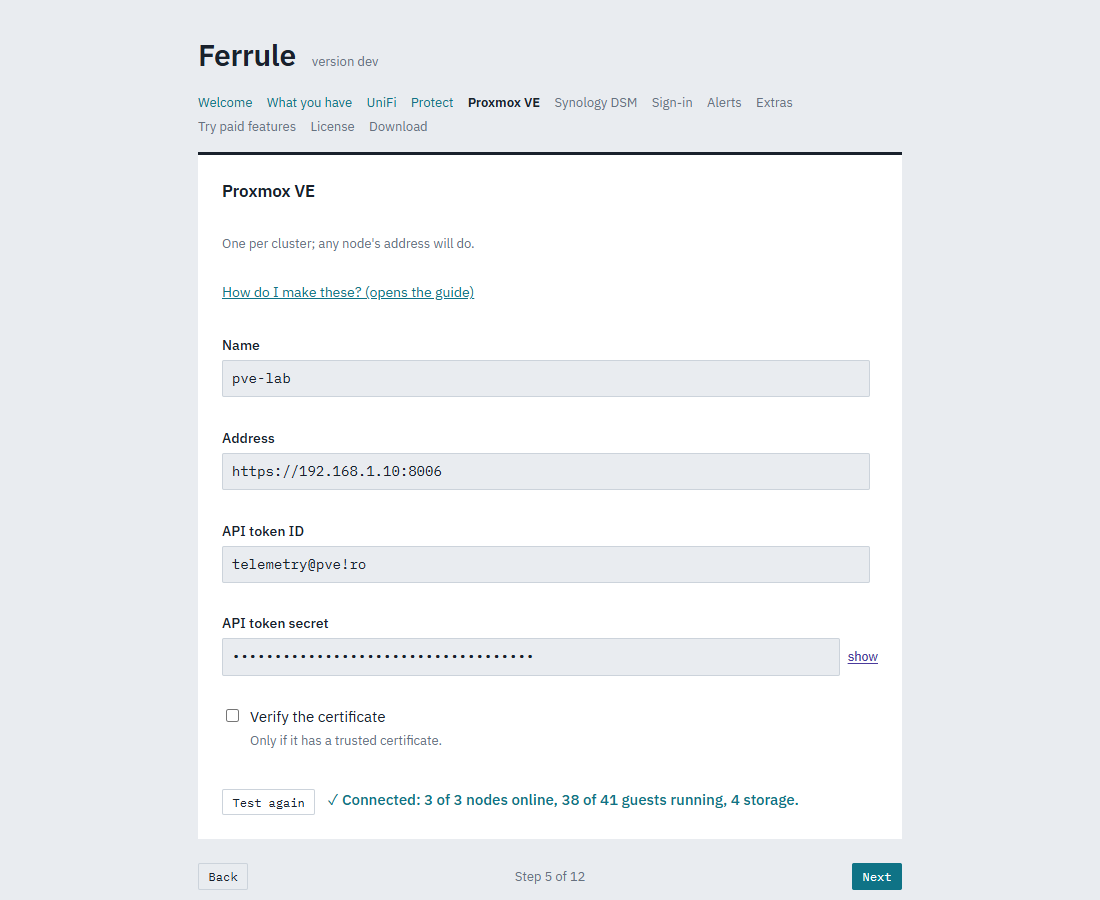
Each type of system has a page in Connect your gear on making its read-only account.
4. Sign-in
Leave Require a password to open Ferrule ticked. Without it, anyone who
can reach the page can see your network. The wizard makes a strong
password for the admin user; copy it somewhere safe now, because
Ferrule won't show it again.
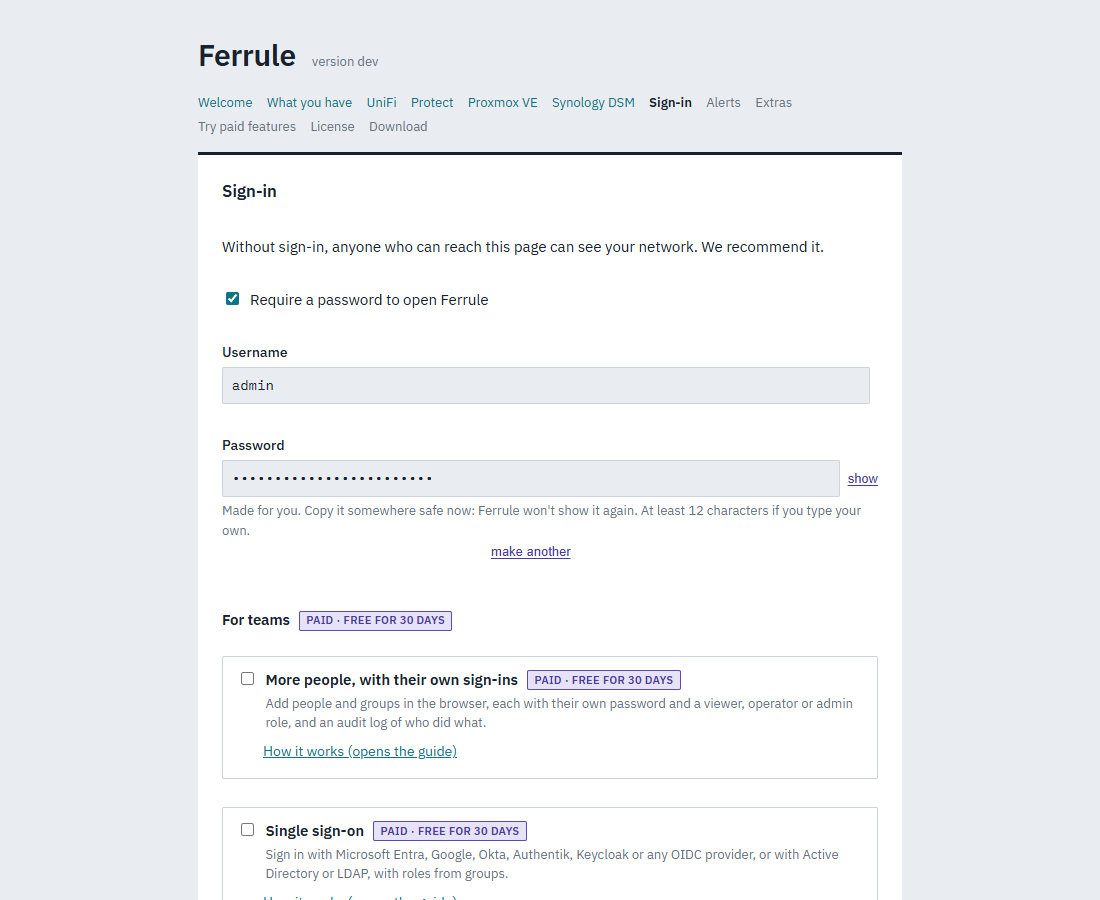
The For teams cards (more users, and single sign-on with Microsoft, Google, Okta, Authentik or Active Directory) are paid features you can try free for 30 days (Sign-in, users and roles).
5. Alerts
Choose where alerts go. Choose several if you like, or none: alerts always show on the dashboard anyway.
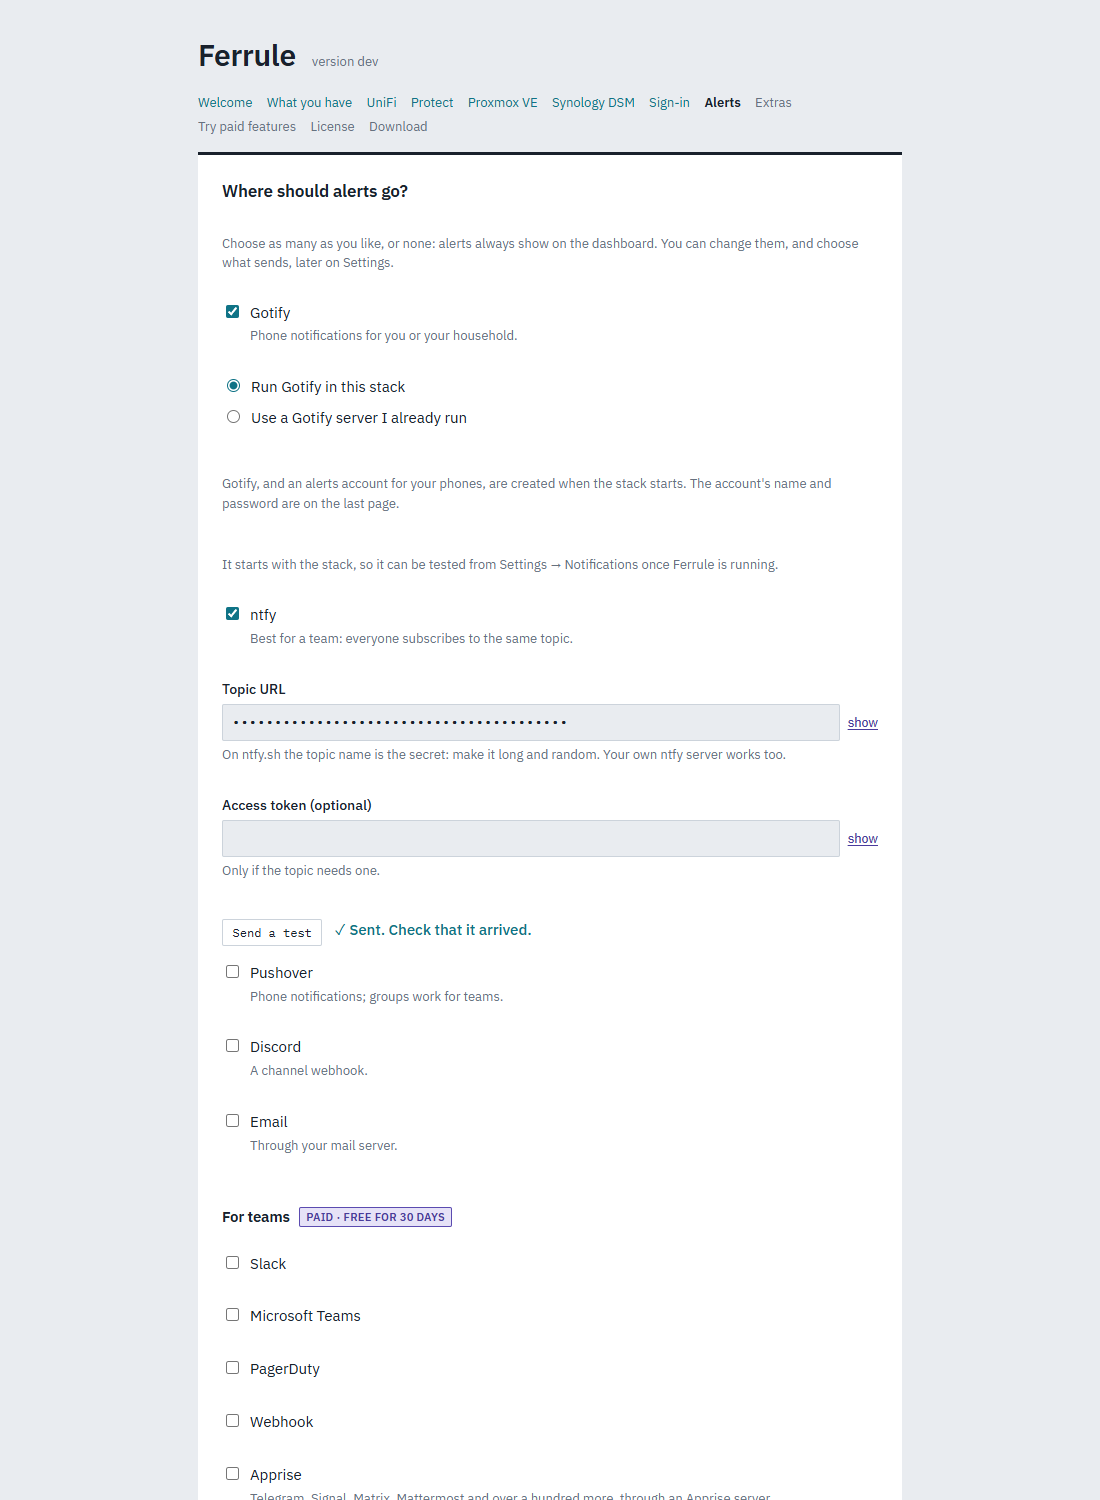
- Gotify, run in this stack is the easiest way to get alerts on your phone. Ferrule starts Gotify, makes an account for your phones, and shows its name and password on the last page.
- Send a test sends a real message. Check that it arrived.
- What sends sets the lowest level that notifies (critical only, or warnings too) and optional quiet hours.
More in Alerts and notifications.
6. Extras, paid features and license
- Extras: your time zone (from your browser) and the port, 8090. Change the port only if something else on the host uses 8090.
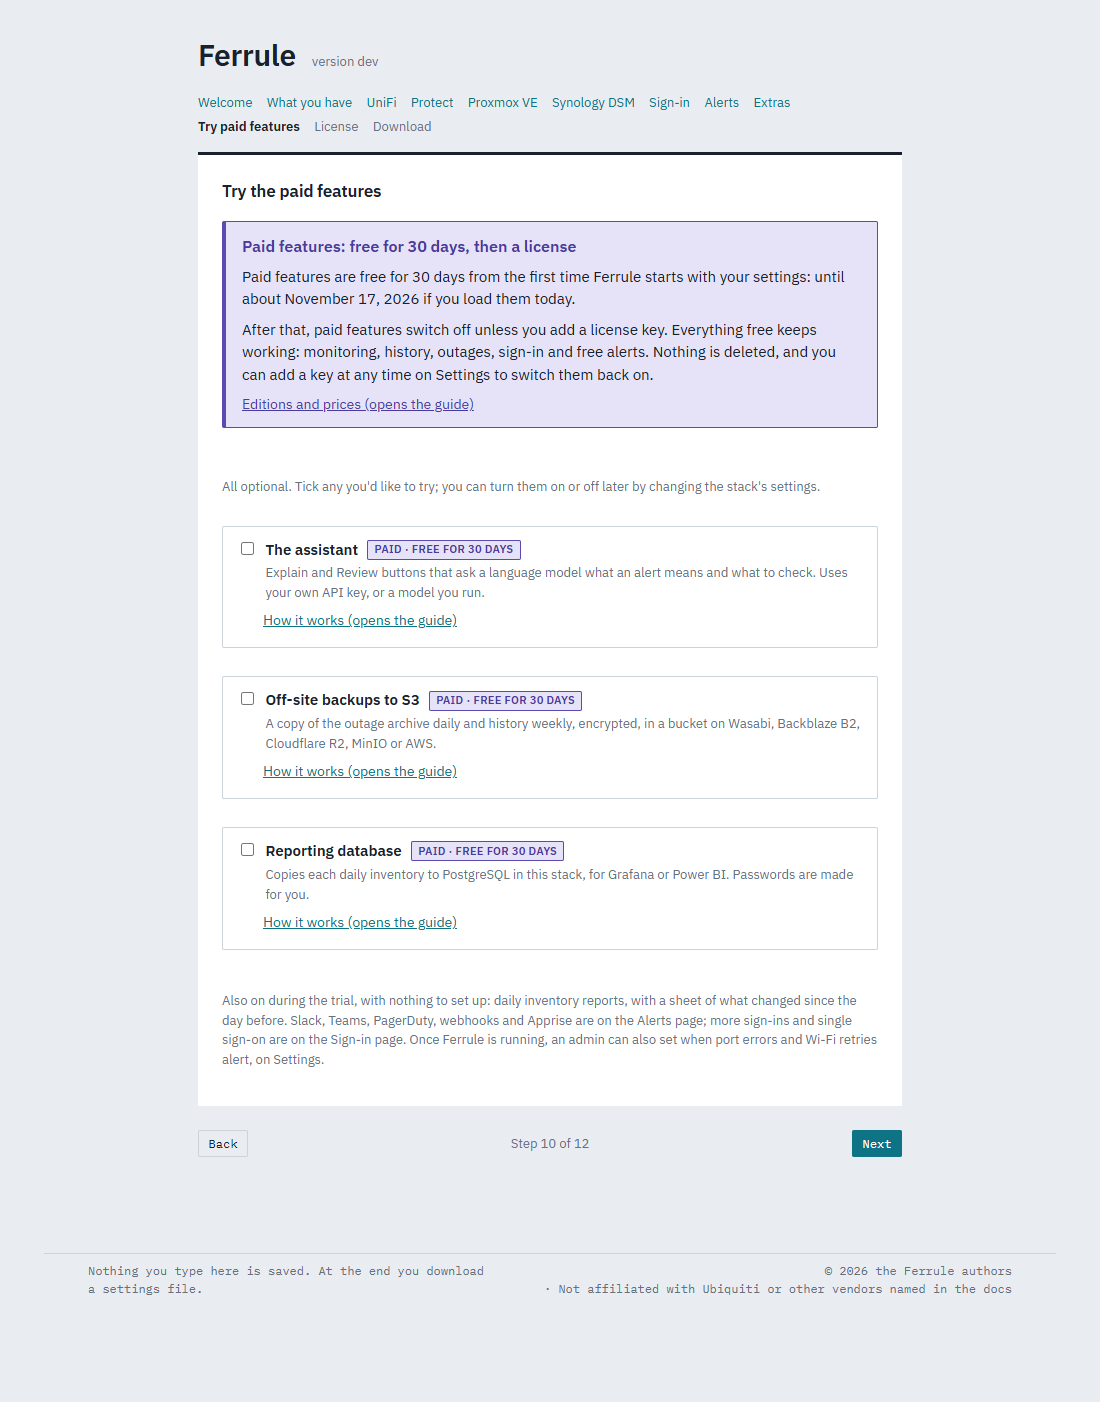
- Try paid features: tick any you'd like to try. They're free for 30 days from Ferrule's first start with these settings, then need a license. Everything else keeps working when the trial ends.
- License: paste a key if you have one, and click Check the key. Leave it empty to use the trial (Enter your license).
7. Download and load it
The last page lists anything still missing, and anything you didn't test. Then click Download ferrule.env.
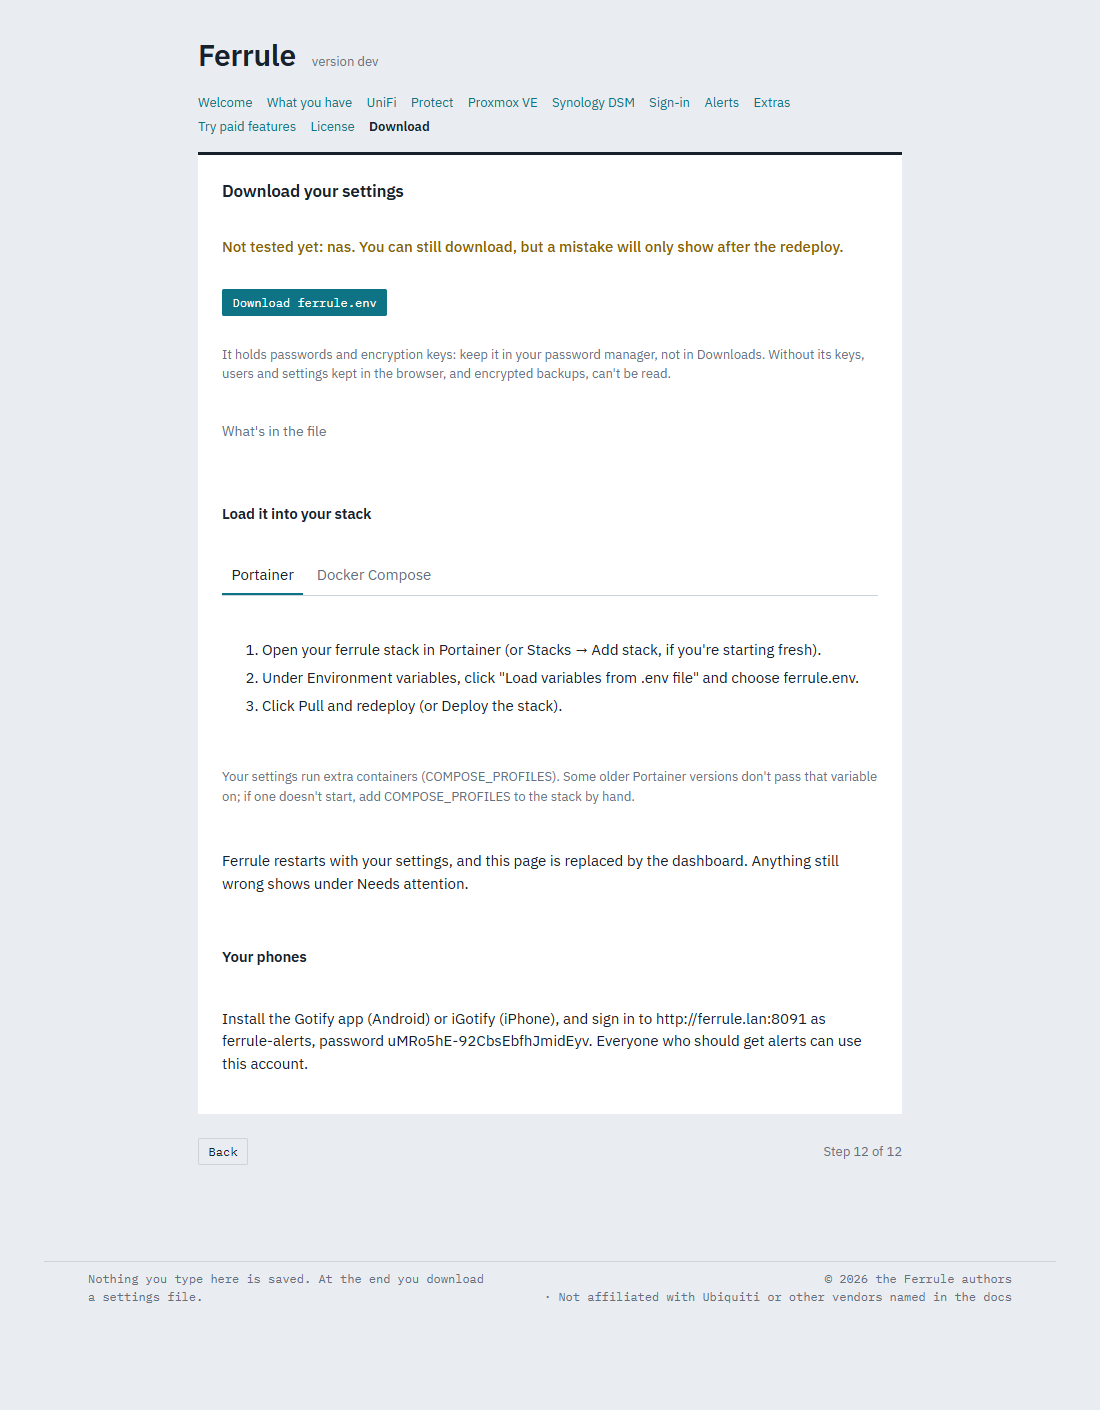
Keep ferrule.env safe
It holds every password and encryption key you set. Put it in your password manager, not your Downloads folder. Its keys can't be made again: without them, users saved in the browser and encrypted backups can't be read.
Load it into the stack:
- Open your
ferrulestack. - Under Environment variables, click Load variables from .env
file and choose
ferrule.env. - Click Pull and redeploy.
- Save the file as
.envin yourferrulefolder, besidedocker-compose.yml. - Run
docker compose up -d.
Ferrule restarts with your settings, and the page becomes the dashboard (or its sign-in page). Next: Your first look.
Extra containers
Gotify, Apprise and the reporting database run as extra containers,
turned on by a line the wizard writes, COMPOSE_PROFILES. Some older
Portainer versions don't pass that line on. If Gotify doesn't start,
add COMPOSE_PROFILES to the stack's variables by hand, with the value
from the file.
Changing your answers later
Don't start a new stack: on the dashboard, go to Settings → Run setup again. It opens this wizard filled in from what's running, and downloads only the changes (Changing your setup).